




This InDesign tip on using optical margin alignment was sent to Tip of the Week email subscribers on June 29, 2017.

Sign up now and every week you’ll get a new tip, keyboard shortcut, and roundups of new articles, plus exclusive deals sent right to your Inbox!
Just scroll down to the bottom of this page, enter your email address, and click Go! We’ll take care of the rest. Now, on with the tip!
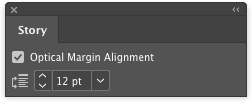
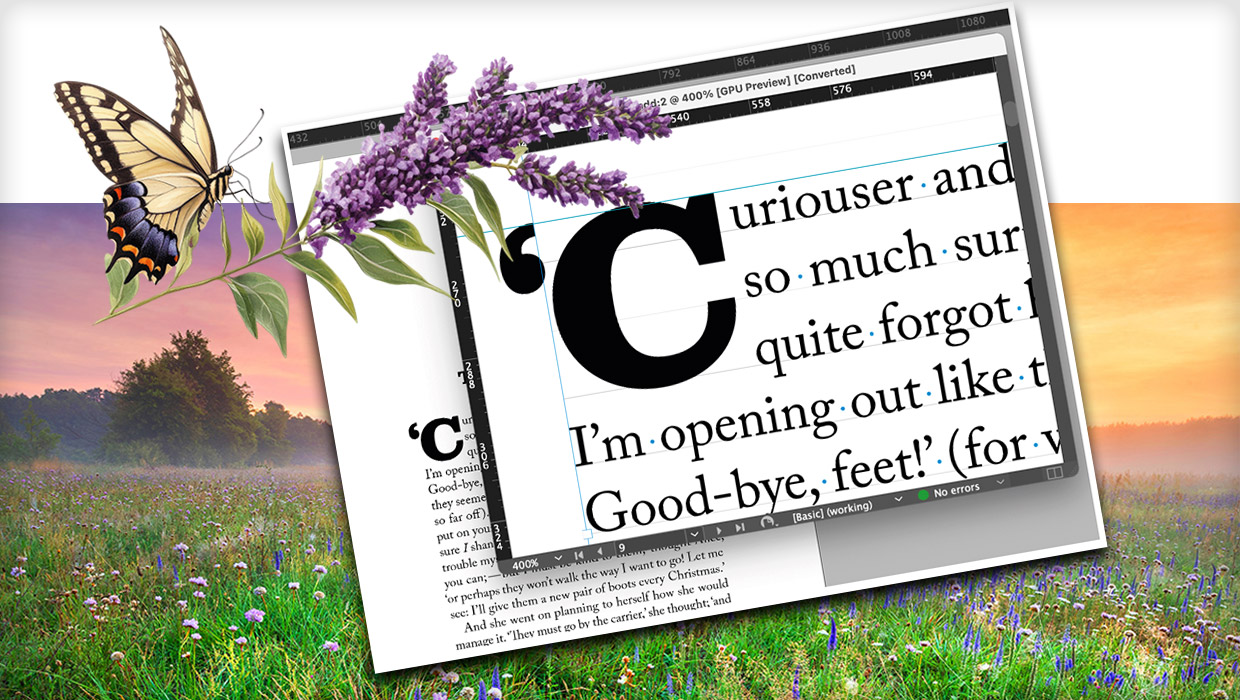
Punctuation at the margin of a text frame can make the left or right sides of a column appear misaligned. Fix that by turning on InDesign’s Optical Margin Alignment: Put your cursor in the story, choose Type > Story, and check the Optical Margin Alignment box in the Story panel.
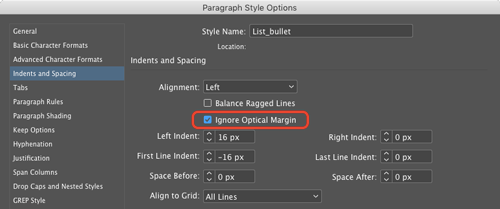
 To turn off optical margin alignment for certain types of paragraphs (bullets and numbered lists, for example), select the Ignore Optical Margin option in your Paragraph Style Options.
This article was last modified on July 25, 2019
This article was first published on July 4, 2017
Commenting is easier and faster when you're logged in!

Recommended for you
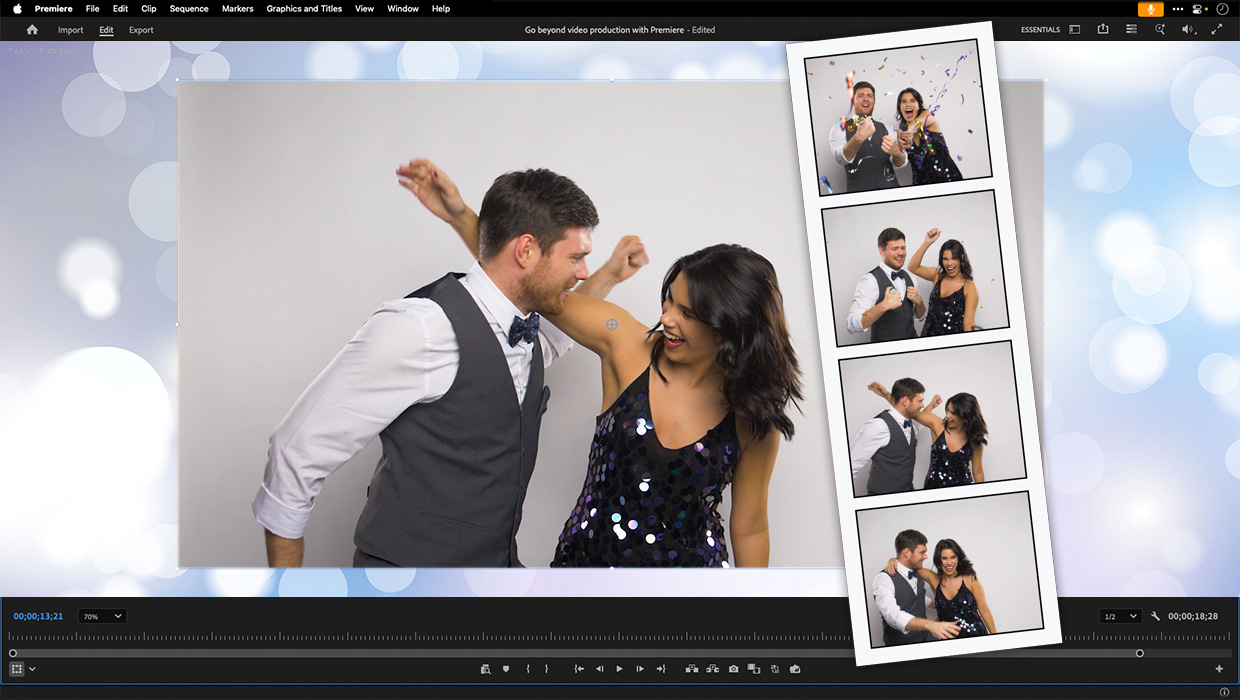
Premiere: It’s Not Just For Video
Designers using InDesign and Photoshop can look at Premiere as a surprising reso...
How to Export Videos in Different Aspect Ratios from Premiere
Quickly reframe your video for any social media platform with Myra Ferguson.
How to Be a Better Graphic Designer: Sweat the Details
Nigel French reminds us how much the little things matter in design.