




I usually use smart guides to butt the edge of one object exactly up against the other. But sometimes there are so many other objects on the page that smart guides fail or are difficult to use.
Of course, you could pull down a ruler guide, snap it to the edge of one object, and then snap the second object to that guide. But here’s an easier, more goof-proof method.
1. Display the Align panel on your screen (shift-F7)
2. If your Align panel doesn’t look like the screenshot below, you may need to choose Show Options from the Align panel menu.
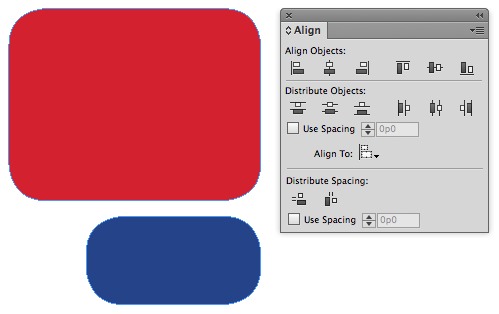
Display the align panel (shift-F7)
3. Select both objects
4. Click again on the object that you wish to remain stationary (this becomes the “key object”)
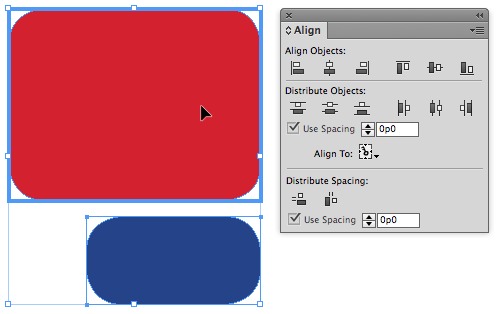
The heavy blue outline indicates which object is the “key object”. This object will remain stationary.
5. Enter “0” in the field next to “Use Spacing” if it isn’t already zero
6. Click the left-most button underneath “Distribute Spacing” to abut the top/bottom edges. Click the right-most button to abut the right/left edges.
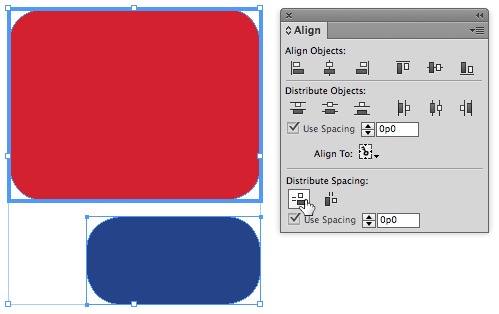
7. The result—the items are precisely butted up against each other.
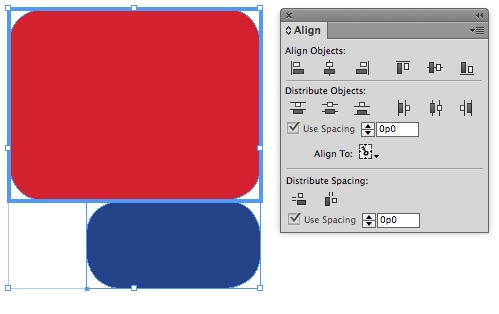
You can do the same thing with multiple objects:
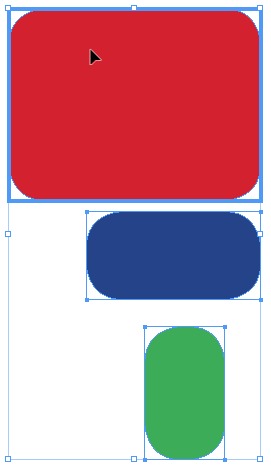
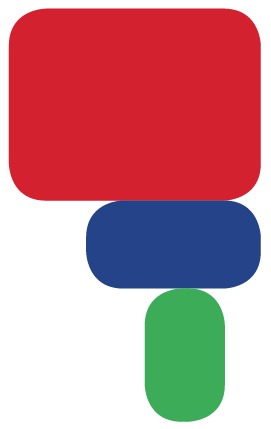
This might seem like a lot of steps, but it is actually just a couple of clicks once you get the hang of it.
This article was last modified on December 30, 2021
This article was first published on January 9, 2014
Commenting is easier and faster when you're logged in!

Recommended for you
Livestream Video: Creating 3D Lettering Using Illustrator’s Inflate Tool
Join Khara Plicanic as she shows how to create stunning 3D lettering with Illust...

Keynote: The Pro Design Powerhouse
Unlock type styles, photo adjustments, animation, and video capabilities that go...
Keep Footer Info Always Visible in InDesign
Keep your full-page photographs from blocking headers and footers in InDesign wi...