



This tutorial is courtesy of the Russell Brown Show.
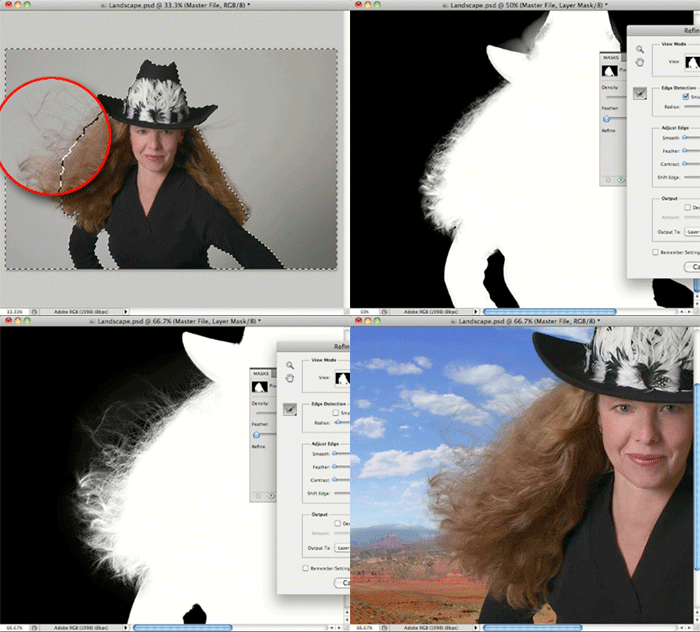
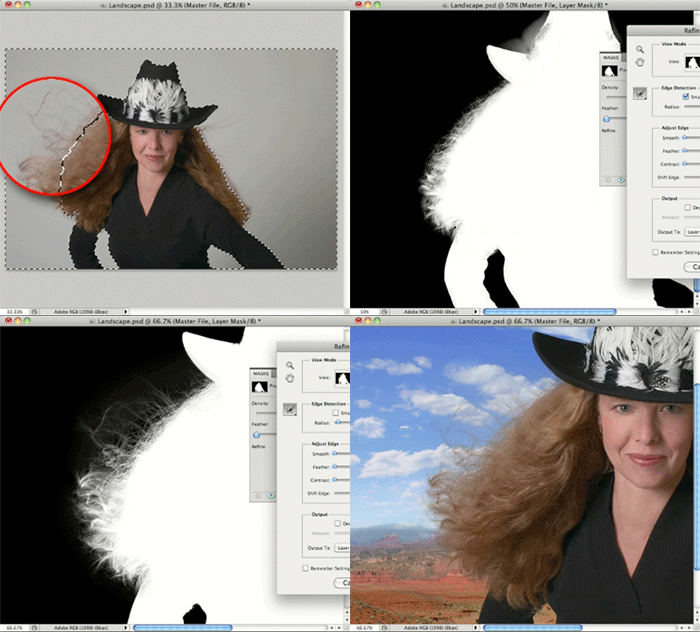
The hardest part about masking has always been selecting areas of transition, such as flyaway hair on a portrait. The new masking tools in Photoshop CS5 are so easy to use that even novices can get impressive results: Just select a subject using the Quick Selection tool, turn that into a mask with one click, hit the Refine Mask buttons, and move two sliders.
However, if you’re willing to do just a little manual work, your areas of transition will go from impressive to top-notch professional, as this animation demonstrates:
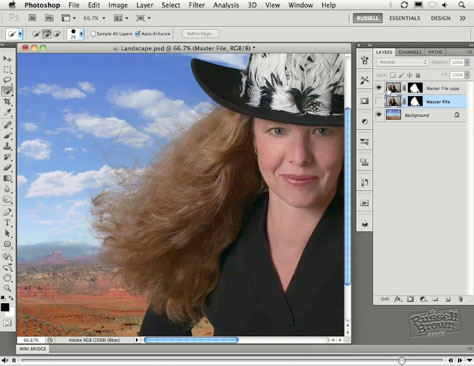
To open the QuickTime tutorial video in a separate window, click the screenshot below:
To view the video on an iPhone or iPad, click here.
This article was last modified on January 6, 2023
This article was first published on September 1, 2010
Commenting is easier and faster when you're logged in!

Recommended for you
How to Adjust Colors Using Photoshop’s Contextual Task Bar
Learn how to use the Photoshop Adjust Colors feature to make quick, non-destruct...

Using Photoshop’s Generative Fill to Remove Objects
Learn how to simply remove items from an image in Photoshop, without extra conte...
How to Adjust Colors in Photoshop Using Hue and Saturation
Learn how to manipulate an image’s colors using Photoshop’s Hue and Saturation s...