



This CreativePro Tip of the Week on Increasing the Photoshop Canvas Size with the Crop Tool was sent to CreativeProse email subscribers on July 26, 2017.
Sign up now and every week you’ll get a new tip, plus roundups of new articles, and exclusive deals sent right to your Inbox!
Just scroll down to the bottom of this page, enter your email address, and click Submit! We’ll take care of the rest. Now, on with the tip!
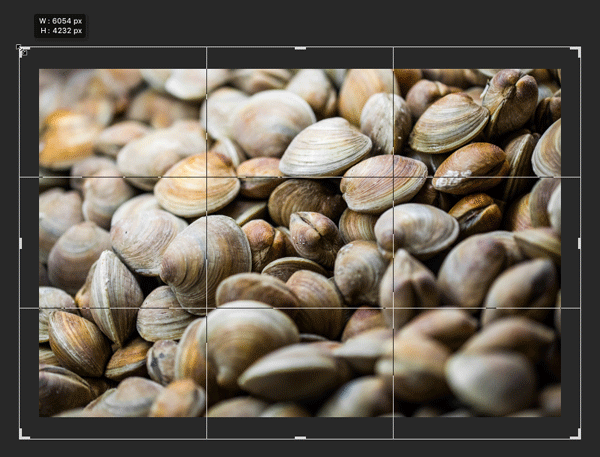
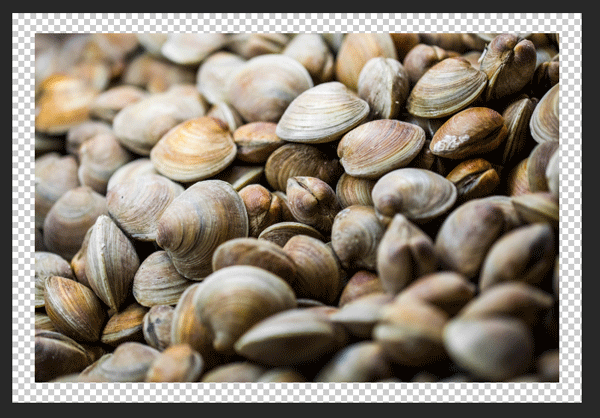
Want to quickly add to the Photoshop canvas size while keeping the current image centered in the expanded area? This is a great job for the Crop tool.
Take the Crop tool (C), hold Option or Alt, and drag out from a corner. The dimensions of the new canvas will be displayed at your cursor.
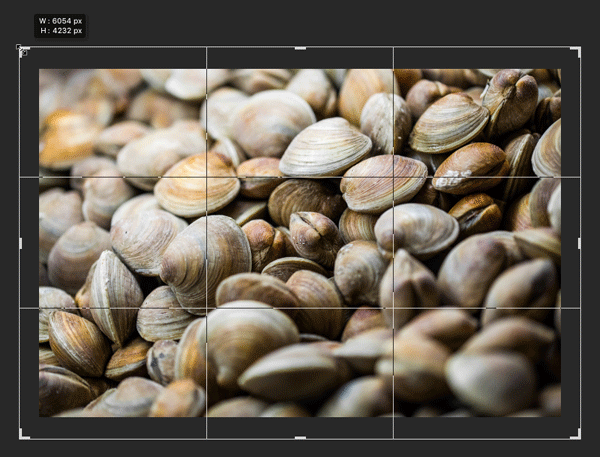
Add the Shift key if you want to constrain the shape of the canvas to its current proportions.
You can also drag from one of the sides to just increase the size of the canvas vertically or horizontally.
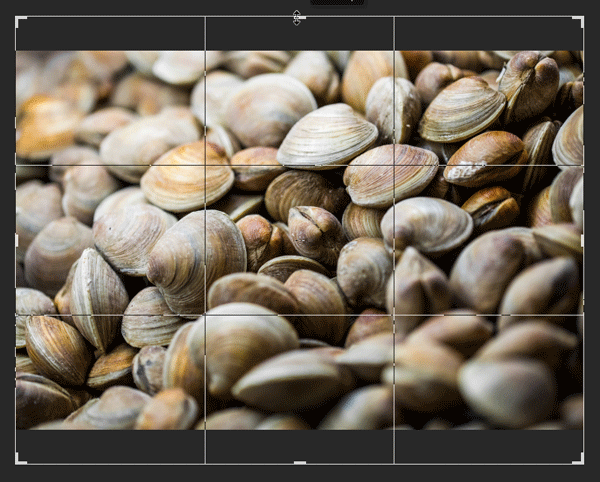
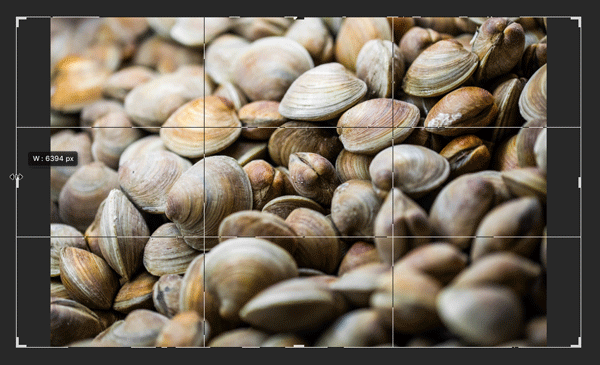
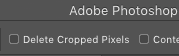
If you have the option to Delete Cropped Pixels turned on in the Options bar, then the new area will be filled with the background color. Otherwise, the new area will be transparent.
This article was last modified on August 21, 2017
This article was first published on August 21, 2017
Commenting is easier and faster when you're logged in!

Recommended for you
How to Turn a Photo into Graffiti in Photoshop
Create a spray-painted masterpiece in Photoshop with Steve Caplin.

Using Photoshop’s Generative Fill to Remove Objects
Learn how to simply remove items from an image in Photoshop, without extra conte...
How to Adjust Colors in Photoshop Using Hue and Saturation
Learn how to manipulate an image’s colors using Photoshop’s Hue and Saturation s...