




This CreativePro Tip of the Week on creating dotted lines in Photoshop was sent to CreativeProse email subscribers on June 7, 2017.
Sign up now and every week you’ll get a new tip, plus roundups of new articles, and exclusive deals sent right to your Inbox!
Just scroll down to the bottom of this page, enter your email address, and click Submit! We’ll take care of the rest. Now, on with the tip!
Ever want to make a dotted line in Photoshop? It’s very easy! Here’s how:
1. Open the Brushes panel
2. Select a round brush
3. Set the Size to how big you want the dots to be.
4. Make sure the Roundness and Hardness are both 100% (Unless you want flattened or feathered dots. Which is fine. I’m not here to judge. You do what you gotta do.)
5. Set the spacing value to space out the dots. A Spacing value of 100% will make the dots just touch each other. 200% will put a space the width of one dot between the dots, etc.
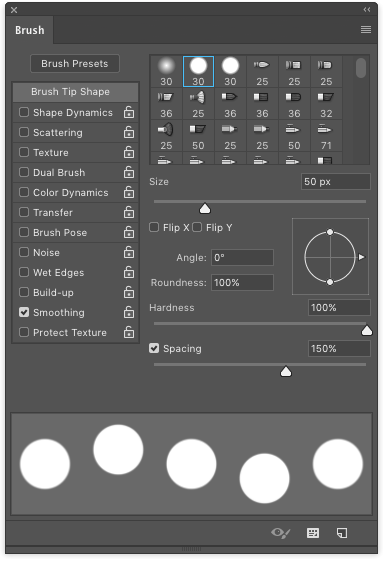
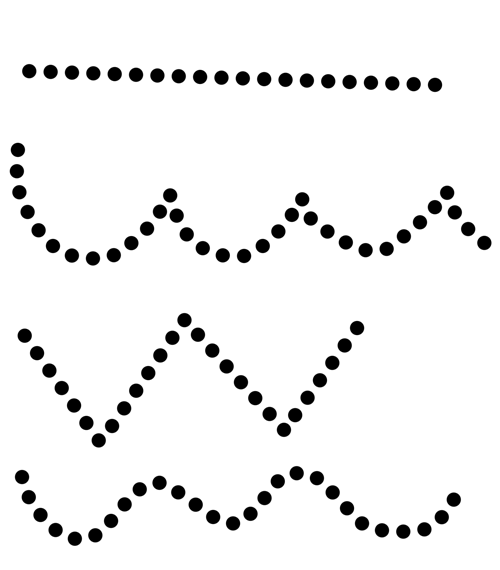
6. Brush away to make dotted lines. Shift-click to draw straight lines.
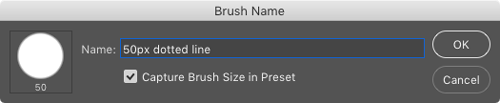
If you expect to re-use your dotted line settings save them as a brush preset. That way you don’t have to keep reinventing the dot, er, wheel, each time you need this effect.
This article was last modified on June 12, 2017
This article was first published on June 12, 2017
Commenting is easier and faster when you're logged in!

Recommended for you

Using Photoshop’s Generative Fill to Remove Objects
Learn how to simply remove items from an image in Photoshop, without extra conte...
How to Adjust Colors in Photoshop Using Hue and Saturation
Learn how to manipulate an image’s colors using Photoshop’s Hue and Saturation s...
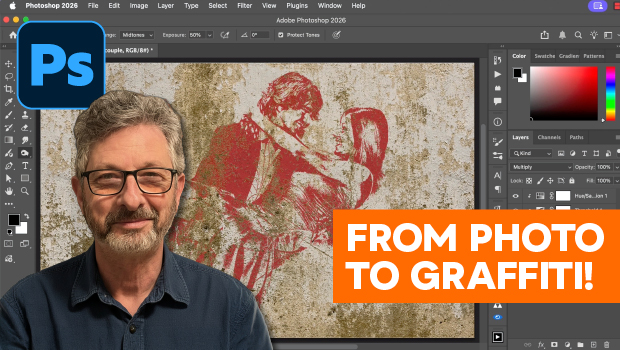
How to Turn a Photo into Graffiti in Photoshop
Create a spray-painted masterpiece in Photoshop with Steve Caplin.