



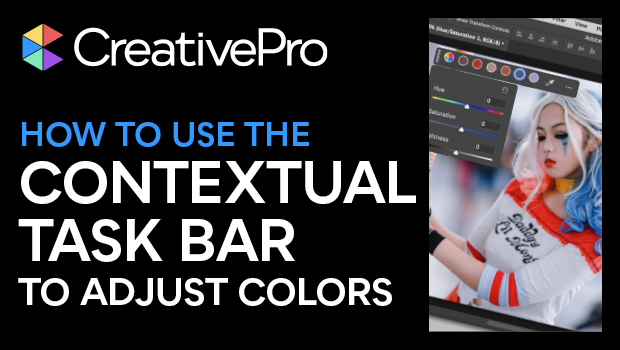
In this Photoshop how-to video, Steve Caplin shows off the new Adjust Colors feature, which can be found in the Contextual Task Bar. With Adjust Colors, he quickly changes the hue, saturation, and lightness of the six most prominent colors in an image. Since the Adjust Colors process automatically creates a new adjustment layer, it’s a breeze to add and remove your color edits.
Subscribe to the CreativePro YouTube channel for more helpful design tips!
This article was last modified on August 29, 2025
This article was first published on July 15, 2025
Commenting is easier and faster when you're logged in!

Recommended for you
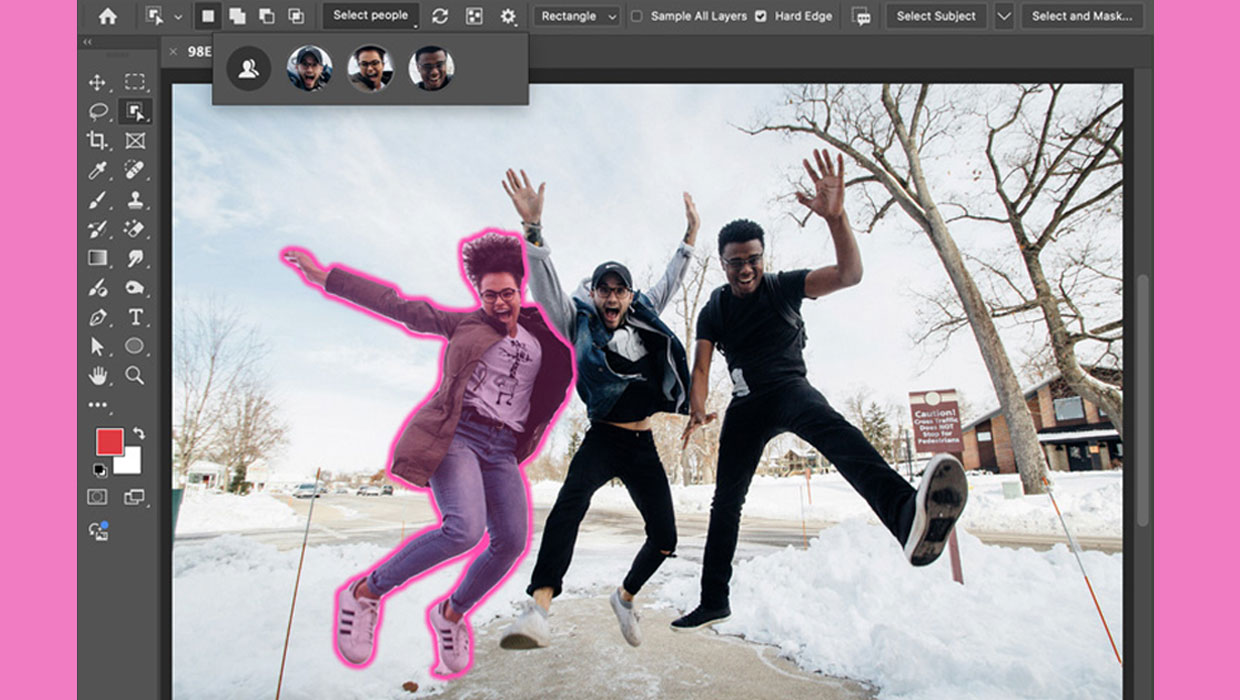
New Features in Photoshop 2025
New features in Photoshop 2025 including powerful new ways to select, mask, and...
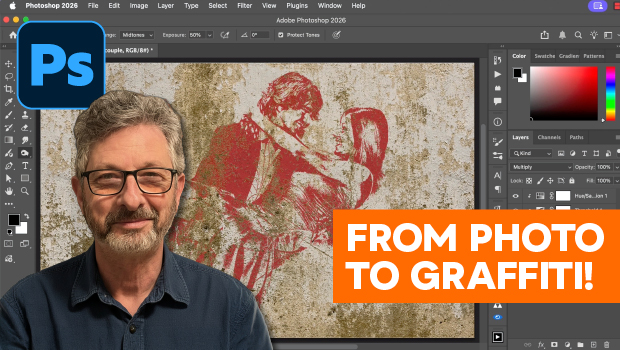
How to Turn a Photo into Graffiti in Photoshop
Create a spray-painted masterpiece in Photoshop with Steve Caplin.

How to Change a Black Object to Any Color in Photoshop
Use a curves adjustment layer to transform black or white objects into color in...